Introduction
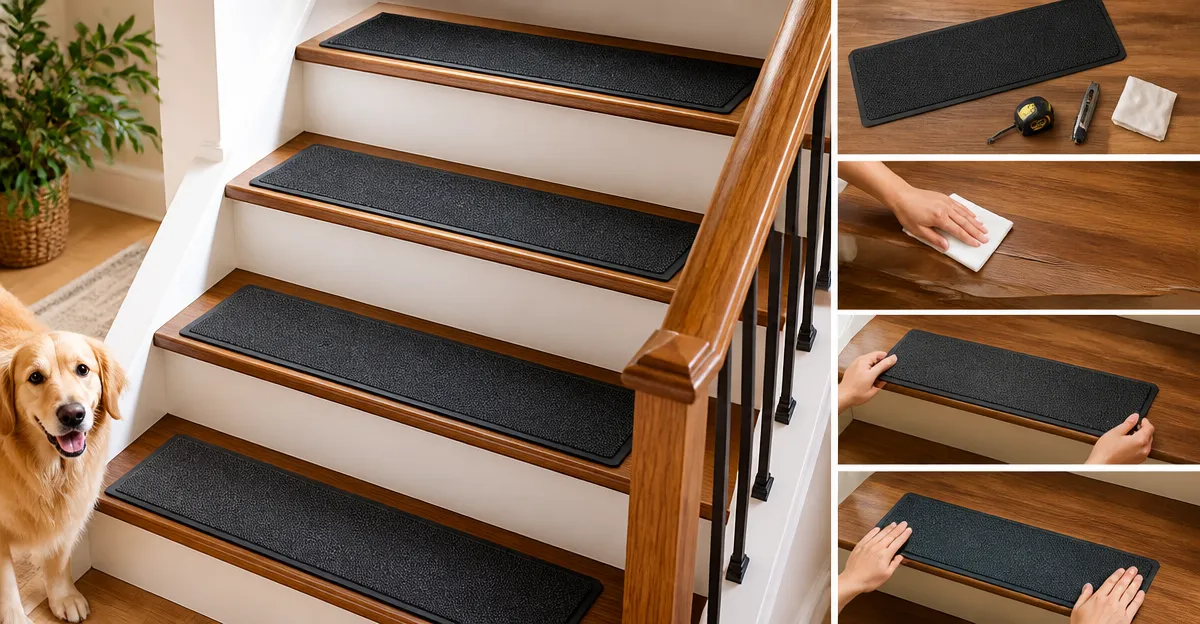
This guide explains how to transform ordinary wooden stairs into slip‑resistant pathways. Readers will learn how to prepare the surface, measure accurately, apply non‑slip treads, and verify safety. The instructions are written for homeowners with basic tools and aim to prevent falls for children, seniors, and pets. By following each step, one can achieve a professional result without hiring a contractor.
What You’ll Need
- Cleaning supplies (vacuum, mild detergent, lint‑free cloth)
- Measuring tape and a sharp utility knife or scissors
- Non‑slip stair treads – choose one of the recommended products below
- Optional: LifeGrip Anti‑Slip Tread Tape for extra traction on stair edges
- Optional: a soft rubber mallet to press treads flat without damaging the wood
Step 1: Clean and Inspect the Stair Surface
Begin by removing dust, debris, and any previous adhesive residues. Use a vacuum to extract loose particles, then wipe each tread with a cloth dampened in a mild detergent solution. Allow the wood to dry completely; moisture can compromise the adhesive backing of most peel‑and‑stick products. Inspect the stairs for cracks or loose boards; repair any damage before proceeding, because uneven surfaces will reduce the effectiveness of the treads.
Step 2: Measure, Cut, and Plan Layout
Accurately measure the width and depth of each stair step. Most products in this guide are sized 8" × 30", which fits standard residential stairs. If a step is wider or narrower, use scissors to trim the tread to the exact dimensions. Mark the center of each step with a light pencil line; this will guide placement and ensure a symmetrical appearance. For stairs with landing pads, consider adding a larger tread or a complementary strip to maintain continuity.
Step 3: Apply the Non‑Slip Stair Treads
Choose a tread that matches your budget, aesthetic, and performance needs. The COSY HOMEER Stair Treads provide a low‑profile design, a TPE non‑skid backing, and a polyester surface that can be washed up to thirty times. Priced at $76.49 with a 4.6‑star rating from 8,503 reviews, they are ideal for families with pets because the backing does not leave residue when removed. To install, peel the protective film from the back, align the tread with the pencil line, and press firmly from the center outward. The adhesive is formulated to stay in place even when exposed to water, making them suitable for kitchens or bathrooms.
If a more decorative option is desired, the PADOOR Non‑Slip Stair Treads feature a 3D woven pattern that adds visual interest while delivering cushioning and noise reduction. They cost $49.29 and hold a 4.5‑star rating from 937 reviews. Their self‑adhesive back offers strong grip without permanent glue, and the treads can be peeled off cleanly if future remodeling is planned.
For users who prefer a material that can be machine‑washed, the KOOTETA Stair Treads use polyester with a TPR adhesive that feels neutral to the touch. Priced at $54.99 and rated 4.6 stars by 3,016 reviewers, they are praised for easy removal and the ability to be washed in a machine. Their strong adsorption works on wood, marble, tile, and glass, providing flexibility for multi‑material homes.
Budget‑focused homeowners may select the MBIGM Carpet Stair Treads. At $41.99 with a 4.6‑star rating from 8,679 reviews, they combine a three‑layer construction of polyester fiber, non‑woven cloth, and TPU bottom for softness and quiet steps. The adhesive is non‑permanent, allowing repositioning without damage.
During installation, press each tread firmly for at least 30 seconds to ensure full contact. Use a rubber mallet to smooth out any air bubbles, moving from the center toward the edges. For steps with irregular edges, trim the tread before applying to avoid overhang.
Step 4: Secure Edges and Add Supplemental Grip
Even with high‑quality treads, the outer edge of a stair can remain slick, especially when wet. Applying a narrow strip of LifeGrip Anti‑Slip Tread Tape along the front edge adds a high‑traction aluminum‑oxide surface that is visible in low light thanks to its glow‑in‑the‑dark stripe. Priced at $24.99 with a 4.6‑star rating from 6,666 reviews, this PET‑based tape adheres strongly to wood, tile, and laminate while leaving no residue upon removal. Cut the tape to the length of each step, peel the backing, and press firmly. The tape’s 80‑grit texture provides immediate grip without altering the aesthetic of the underlying tread.
Step 5: Clean Up and Test the Installation
After all treads and optional tape are in place, remove any protective films and give the stairs a final wipe with a dry cloth. Walk up and down each step slowly, testing for any movement or audible squeaks. If a tread shifts, lift it, re‑clean the wood, and re‑apply, ensuring the surface is free of dust. Finally, invite family members or pets to use the stairs under supervision to confirm that the slip‑resistance meets expectations.
Tips & Pro Tips
- Work in a well‑ventilated area; some adhesives emit a mild odor that dissipates quickly.
- For stairs with a slight rise, place a thin felt pad between the tread and wood to prevent warping over time.
- When trimming treads, cut just outside the marked line; excess material can be saved for future repairs.
- Apply a light coat of silicone‑based sealant to the edges of the tape if the stairs are exposed to heavy moisture.
- Schedule a quarterly inspection to ensure the adhesive remains secure, especially after cleaning.
Troubleshooting
| Problem | Possible Cause | Solution |
|---|---|---|
| Tread lifts after a few days | Surface was not fully cleaned or was damp. | Remove the tread, clean the wood with isopropyl alcohol, allow to dry, then re‑apply. |
| Air bubbles under the tread | Insufficient pressure during installation. | Use a rubber mallet to press out bubbles, working from center outward. |
| Tape does not adhere | Surface is oily or textured. | Wipe the area with a degreaser, dry thoroughly, then re‑apply tape. |
Conclusion
By following this step‑by‑step guide, one can safely install anti‑slip stair treads on wood stairs, reducing the risk of falls for all household members. The recommended products combine durability, ease of installation, and aesthetic flexibility, allowing customization to match any interior style. Regular maintenance and periodic checks will preserve the performance of the treads for years to come. Implement these practices today and enjoy confidence every time you ascend or descend your stairs.
Products Mentioned in This Guide
Frequently Asked Questions
What surface preparation is required before applying anti‑slip stair treads?
Clean each step thoroughly, removing dust, debris, and old adhesive with a vacuum and a mild detergent, then let it dry completely.
How do I measure wood stairs accurately for tread placement?
Use a measuring tape to record the width and depth of each tread, marking the centerline to ensure the treads are centered and evenly spaced.
Can I install anti‑slip treads without a professional adhesive?
Most tread kits include a self‑adhesive backing; simply press them onto the clean surface, using a rubber mallet if needed for a firm bond.
Are anti‑slip treads safe for children, seniors, and pets?
Yes, they provide extra traction that reduces slip risk for all users while maintaining a low profile that won’t snag shoes or paws.
How long will the anti‑slip treads last on wood stairs?
When properly installed and maintained, the treads typically last 3‑5 years before showing noticeable wear.